
When Water Stops and the Relay Gets the Blame
Well pump relay troubleshooting begins with understanding its role: it’s the electronic switch that tells your pump motor when to start and stop. If you have no water, a pump that won’t turn on, or hear chattering from your control box, the relay is a likely culprit. Here’s what to check first:
- Verify power – Confirm the breaker is on and voltage reaches the control box.
- Listen for sounds – Chattering or buzzing can indicate bad contacts or low voltage.
- Check for heat – A hot relay or a burning smell means it needs immediate replacement.
- Test continuity – Use a multimeter to check the relay coil and contacts.
- Inspect connections – Look for loose or corroded wires.
The relay is the gatekeeper between your pressure switch and pump motor, delivering the high current needed for startup. When it fails, you lose water. Because its symptoms can mimic other issues (pressure switch, capacitor, or tank problems), correctly diagnosing the relay saves time and money. While many assume “no water” means a dead pump, issues often trace back to the control box, especially loose wiring, dirt, or insects. The good news is that relay troubleshooting is systematic and often doesn’t require pulling the pump.
I’m Mack Blair, and after three decades of servicing pump systems in Central Indiana, I’ve seen every type of relay failure. Well pump relay troubleshooting is key to reliable water, and I’ll walk you through the same checks my team uses.

What Does a Well Pump Relay Do?
Your well pump relay is a heavy-duty electrical switch controlling the high-voltage current (typically 240 volts) that powers your submersible pump motor. Here’s how it works:
- When water pressure drops to the cut-in setting (e.g., 40 psi), the pressure switch sends a signal to the relay’s coil.
- The coil becomes an electromagnet, pulling a set of heavy contacts (the contactor) closed.
- Full voltage flows to the pump motor, and water starts pumping.
- When pressure reaches the cut-off point (e.g., 60 psi), the pressure switch cuts the signal, the magnetic field collapses, and the contactor opens, stopping the pump.
This cycle repeats thousands of times, eventually causing wear on the relay’s contacts, springs, and coil.
Most control boxes also contain a start capacitor, which provides extra torque to help the motor start. The relay energizes this capacitor and then disconnects it once the motor is running. A failure in either the relay or capacitor can cause the pump to hum without starting.
During well pump relay troubleshooting, it’s vital not to confuse the relay with the pressure switch. The pressure switch senses pressure and decides when to run, while the relay receives that signal and delivers the high-voltage power.
| Component | Primary Role | Typical Location | Common Symptoms of Failure |
|---|---|---|---|
| Pressure Switch | Senses water pressure, sends ON/OFF signal | Near pressure tank | Pump runs non-stop, pump won’t turn on, rapid cycling |
| Pump Relay | Controls high-voltage power to pump motor | Inside control box | Pump won’t start, chattering, buzzing, burned contacts, no power |
| Pump Controller | Houses relay, capacitor, and overload protection | Near pressure tank/wellhead | Pump won’t start, tripping breakers, motor hums but doesn’t turn |
A relay’s cycle life varies by manufacturer/model and load conditions. A system with a ruptured pressure tank bladder can cause rapid cycling (hundreds of times per day), burning out a relay in months instead of years.
Where the Relay Lives in Your System
The relay is located inside the well pump control box, a metal enclosure usually mounted near your pressure tank or wellhead. This box is above ground, making it one of the few electrical components you can inspect without pulling the pump. Power runs from your breaker to the control box, where the relay handles the high-amperage switching, protecting the more delicate pressure switch. When troubleshooting, always start at the accessible control box.
Signs Your Relay Is Failing
A failing relay often gives warning signs. Knowing what to look and listen for is the first step in diagnosis.
- The No-Start: You turn on a faucet, but the pump remains silent. This can mean the relay’s contacts are too burned to complete the circuit.
- Chattering: A rapid clicking sound from the control box. This happens when the relay coil has insufficient voltage to hold the contacts firmly closed, often due to undersized wire or a loose connection.
- Buzzing: A loud hum indicating the relay’s magnetic coil is energized, but the contacts are stuck or corroded and won’t close properly.
- Rapid Cycling: While usually caused by a ruptured pressure tank bladder, a faulty relay can sometimes cause the pump to turn on and off erratically.
- Tripped Breakers or Blown Fuses: A failing relay with damaged contacts can create a short circuit or overload that trips your overcurrent protection.
Mechanical & Electrical Red Flags
Before you begin, turn off the power. Once the control box is open, look for these telltale signs:
- Overheating Smell: An acrid, burnt-plastic odor indicates a component has been running too hot due to excessive current or a poor connection.
- Melted Plastic: A distorted relay housing is a clear sign of severe overheating.
- Loose Screws: Loose terminal screws create resistance and heat, which can lead to a complete failure.
- Burned or Charred Terminals: Blackened wires and terminals are a smoking gun, showing exactly where the electrical fault is located.

Symptoms That Mimic Relay Trouble
In well pump relay troubleshooting, half the battle is ruling out other components. Be aware of these common mimics:
- Ruptured Pressure Tank Bladder: This is the #1 cause of rapid cycling. Without an air cushion, the pump turns on and off constantly, which can look like an electrical issue.
- Clogged Pressure Switch Nipple: Sediment can block the tube to the pressure switch, preventing it from accurately sensing pressure. The pump may run continuously or not start at all.
- Low Water Level: If the well’s water level drops, the pump will struggle to build pressure, causing it to run constantly or cycle erratically.
- Bad Capacitor: Located next to the relay, a failed capacitor can cause the motor to hum without starting or trip the breaker—symptoms nearly identical to a bad relay.
For a deeper dive into what causes pumps to run continuously and how to diagnose those issues, check out our guide: More info about continuous-run problems.
Well Pump Relay Troubleshooting: Step-by-Step Guide
Let’s tackle well pump relay troubleshooting safely and systematically.
Safety First: Electricity is dangerous. Before touching any wiring, turn off the power at the main electrical panel. Use a lock-out/tag-out procedure by turning off the breaker and labeling it so no one turns it back on.
Required Tools & PPE:
- Multimeter (with voltage, resistance, and amperage clamp)
- Non-contact voltage tester
- Insulated screwdrivers, wire strippers, and pliers
- Safety glasses and insulated gloves rated for electrical work
Well Pump Relay Troubleshooting – First Steps
- Check the Breaker: Ensure the well pump breaker is in the “on” position. If it has tripped, reset it once. If it trips again immediately, stop and call a professional, as you have a short circuit.
- Confirm Voltage: With extreme caution and proper PPE, use your multimeter to confirm you have the correct voltage (usually 240V) at the incoming terminals of the control box. Low voltage can cause relay chattering.
- The “Tap Test”: A gentle tap on the control box or pressure switch with a screwdriver handle can sometimes free a stuck component. If the pump starts, you’ve found a mechanical issue, but this is a diagnostic, not a fix.
- Inspect Connections: With the power off, open the control box. Tighten any loose terminal screws and look for corroded wires, burned insulation, or signs of insect nests.
Advanced Well Pump Relay Troubleshooting Checks
Power must be off for the following resistance and continuity tests.
- Test Relay Coil Resistance: Disconnect the coil wires and measure the resistance across the coil terminals with your multimeter. A normal reading is typically between 10 and 200 ohms (check your model’s specs). A reading near zero indicates a shorted coil, while an infinite reading (“OL”) means the coil wire is broken. In either case, the relay needs replacement.
- Test Relay Contacts: Set your multimeter to continuity mode. With the relay de-energized, test the contacts that power the pump; there should be no continuity. If you can manually activate the relay, the meter should show continuity when the contacts close. If not, the contacts are damaged.
- Measure Amperage (Power On): With extreme caution, use an amp clamp around one of the pump’s power wires while it’s running. Abnormally high amperage can indicate a failing motor, while low amperage might mean the pump is running dry. For a visual guide, this visual demonstration on control box testing video is a great resource.
Distinguishing Relay vs Other Component Failures
- Check the Pressure Gauge: A low reading when the pump should be running points to a problem.
- Test the Pressure Tank: With power off and the system drained, check the air pressure at the valve on top of the tank. It should be 2 PSI below your pump’s cut-in pressure. If water comes out, the bladder is ruptured—the most common cause of rapid cycling.
- Suspect the Capacitor: If the pump hums but won’t start, the capacitor is a more likely culprit than the relay.
- Test the Pump Motor: A megohmmeter (megger) can test the motor’s windings. Low insulation resistance means the fault is with the pump itself, not the relay.
Testing the Relay Safely with a Multimeter
Using a multimeter is a definitive step in well pump relay troubleshooting. Always follow a methodical, safe process.
First, perform a lock-out/tag-out: turn off the breaker and label it so no one turns it back on. Use a non-contact voltage tester to confirm the control box is dead. Before disconnecting wires, take a photo or label them to ensure correct reassembly.
1. Test the Coil (Power OFF):
- Set your multimeter to resistance (Ω).
- Place the probes across the two terminals of the relay’s coil.
- A good coil will have a specific resistance, typically 50-200 ohms (check the relay’s specs).
2. Test the Contacts (Power OFF):
- Switch your multimeter to continuity mode (it should beep for a complete circuit).
- Test the normally open contacts that power the pump. They should show no continuity.
- If you can manually activate the relay, the contacts should close and show continuity. If they don’t, they are damaged.
3. Test Voltage (Power ON – Extreme Caution):
- Wear insulated gloves and stand on a dry surface. Set your multimeter to VAC (AC volts).
- Measure the line side (incoming power from the breaker). You should see full system voltage (e.g., 240 VAC).
- When the pressure switch calls for water, the relay should click. Measure the load side (outgoing power to the pump). If you have voltage on the line side but zero on the load side, the contacts have failed.
What Readings Mean
- Coil Resistance of 0 Ω (or near zero): The coil is shorted and must be replaced.
- Coil Resistance of ∞ Ω (“OL”): The coil wire is broken (open), and the relay is dead.
- 240 VAC In / 0 VAC Out: The coil is working, but the contacts are burned or damaged and not passing power to the pump.
- Fluctuating Voltage: This usually indicates a loose connection at the relay, pressure switch, or elsewhere in the circuit. Tighten all terminals.
Repair, Replace, or Call a Pro?
After your well pump relay troubleshooting, you have three options: repair, replace, or call a professional.
While cleaning minor pitting on relay contacts with a file can be a temporary fix, it doesn’t solve the underlying cause of arcing. For most residential systems, the relay is a single unit, making a full relay swap the most practical solution. Many technicians prefer to replace the entire control box (cost varies by model and labor), which includes a new relay and capacitor, to eliminate multiple potential failure points at once.
If you’re comfortable with electrical work, a DIY replacement can save money. However, if you’re unsure about your diagnosis or the wiring, professional help is the safer and often faster choice. Before buying parts, check if your system is still under warranty.
For more on this topic, see our guide: More info about repair vs replacement.
When DIY Ends and Professional Help Begins
While basic troubleshooting is manageable for many homeowners, certain situations require a pro:
- Code Compliance: A licensed professional ensures all work meets local electrical codes for safety and legality.
- Underground Issues: Problems with buried splices or wiring require specialized equipment to locate and repair.
- Deep-Well Pulls: Pulling a submersible pump from a deep well demands a pump hoist and experience to avoid damaging the well or equipment.
- Persistent Problems: If replacing parts doesn’t fix the issue or the breaker keeps tripping, an expert can diagnose deeper problems like utility voltage drops or a failing motor.
- Emergencies: If you’re without water and need a fast, reliable fix, a 24/7 emergency service is your best bet.
Preventing Future Relay Issues
The best repair is prevention. Follow these tips to extend the life of your relay:
- Tighten Connections: Annually, turn off the power and tighten all terminal screws in the control box to prevent resistance and heat buildup.
- Use Correct Wire Size: Undersized wire causes voltage drop, which leads to chattering relays and overheated motors. Ensure your wiring is appropriate for the pump’s amperage and distance.
- Install Surge Protection: A surge protector for your well circuit can protect sensitive electronics from lightning and power grid fluctuations.
- Schedule Annual Inspections: A professional can spot small issues like corrosion or a failing capacitor before they cause a shutdown.
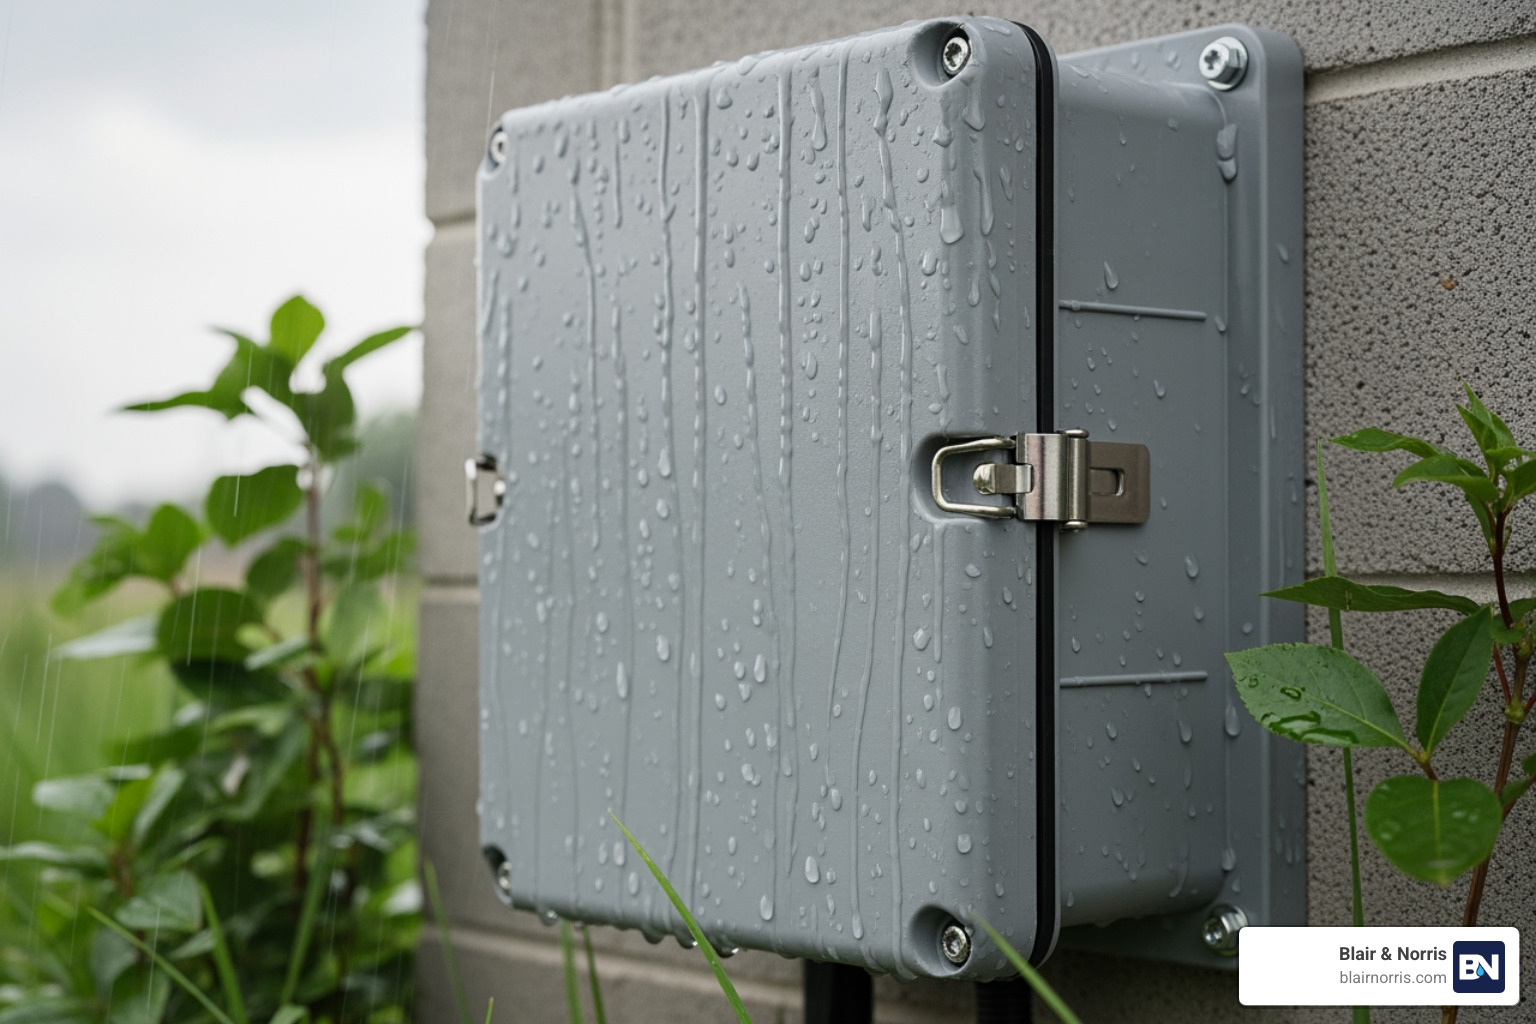
- Keep It Sealed: Ensure your control box cover is securely fastened to keep out moisture, insects, and debris.
Frequently Asked Questions about Well Pump Relays
Why does my relay chatter only at night?
Relays often chatter at night because electrical conditions change during evening peak demand. Incoming voltage can drop, and if the relay coil doesn’t receive enough power to stay energized, the contacts may rapidly open and close.
This is one common cause, but not the only one. Loose electrical connections, a weakening relay coil, undersized wiring, or utility-side voltage variation can all make the system sensitive to nighttime voltage changes. These issues may not appear during the day, when voltage is more stable.
To confirm the cause, measure voltage at the relay during the time the chatter occurs. If voltage is consistently low (for example, around 210V instead of 240V), contact the power company. An electrician should also verify that all electrical connections are tight and properly sized.
Can a bad pressure tank ruin a good relay?
Yes, indirectly. A pressure tank with a ruptured bladder causes the pump to “rapid cycle”—turning on and off far more frequently than normal. Each start-up creates a small electrical arc that wears down the relay’s contacts. Rapid cycling compresses years of normal wear into months, leading to pitted, burned contacts and premature relay failure. Always fix a bad tank immediately to save your relay and pump motor.
Is solid-state better than electromechanical for wells?
It depends. Solid-state relays have no moving parts, so they don’t wear out from arcing and are great for systems with frequent cycling. However, they are more sensitive to power surges and heat. Traditional electromechanical relays are robust, easier to troubleshoot, and handle voltage spikes better, but their physical contacts will eventually wear out. For most residential wells, either type works well if the overall system (wiring, voltage, pressure tank) is properly maintained. A well-maintained system is more important than the type of relay.
Conclusion
You now have the knowledge to perform well pump relay troubleshooting, from identifying symptoms to safely testing components with a multimeter. Understanding how the relay functions allows you to systematically diagnose issues, saving time, money, and the stress of an unexpected water outage. If any questions arise, or you want an expert opinion, call Blair & Norris today!
Preventative maintenance is key. Annual inspections, tight electrical connections, and a properly sealed control box will prevent most relay failures. While many issues can be resolved with a DIY approach, there’s no shame in calling a professional for complex problems like deep-well pulls, persistent electrical faults, or anything that makes you uncomfortable around high voltage.
If your troubleshooting has led to a dead end, or you’d prefer an expert diagnosis, we’re here to help. Blair & Norris has served Central Indiana for over 75 years, and our team has seen every relay failure imaginable. We answer our phones 24/7 because we know water emergencies don’t wait for business hours.
Ready to get your water flowing reliably again? Visit our contact page to schedule service. We’re proud to serve homeowners throughout Indianapolis and the surrounding areas with the ethical, high-quality service that’s been our hallmark for three generations.